

You can send calls to voicemail on Nextiva using several methods. Activate Do Not Disturb mode through your dashboard or mobile app to automatically route all calls to voicemail during meetings or focused work. Alternatively, press the decline button when receiving calls to send them directly to voicemail. You can also configure call forwarding rules based on your availability status, business hours, or specific caller IDs for automated voicemail routing. Explore these options to discover advanced customization features.
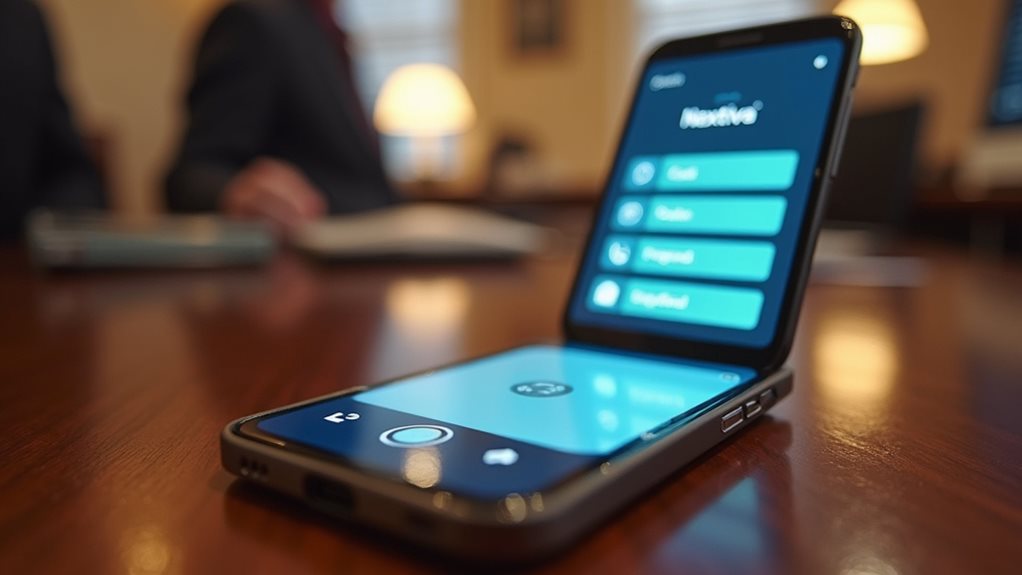
Setting Up Do Not Disturb Mode on Nextiva
One of the most straightforward ways to send calls directly to voicemail on Nextiva is by activating Do Not Disturb mode, which fundamentally puts your phone line in a temporary offline state.
This feature becomes your go-to solution when you’re in meetings, focusing on important tasks, or simply need uninterrupted time. You’ll find that accessing Do Not Disturb is intuitive through your Nextiva dashboard or mobile app.
Once activated, incoming calls automatically route to your voicemail system, guaranteeing you don’t miss important messages while maintaining your workflow.
Do Not Disturb mode ensures seamless call management by automatically directing incoming calls to voicemail while preserving your productivity.
The beauty of this approach lies in its flexibility—you can customize your Voicemail Settings to include personalized greetings that inform callers about your availability, creating a professional experience that keeps everyone connected.
This functionality is especially valuable for remote employees who need to maintain professional communication standards while working from various locations with internet access.
Using the Decline Button to Route Calls to Voicemail
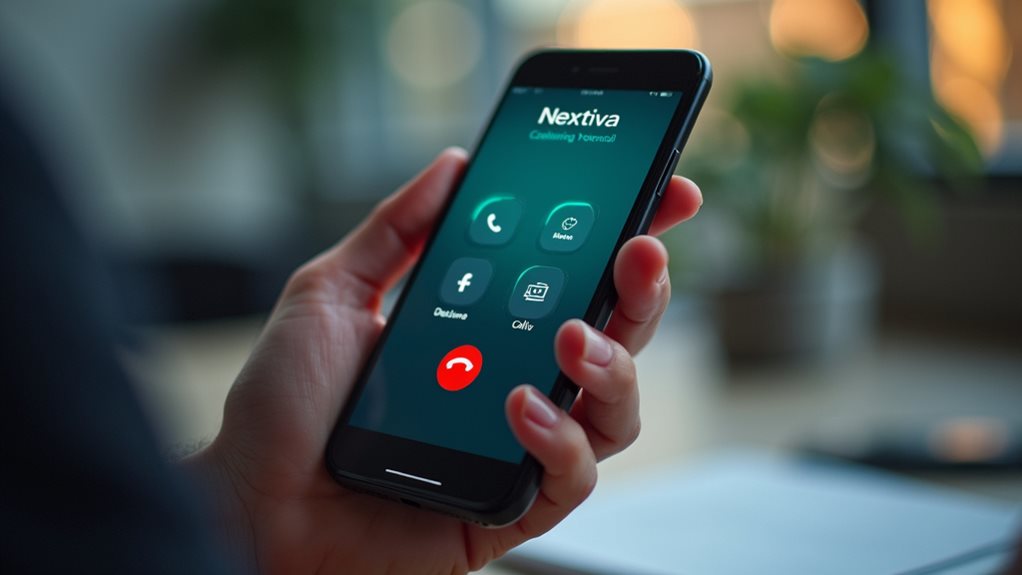
When you’re using Nextiva and need to quickly send an incoming call to voicemail, you’ll find the decline button is your most straightforward option.
This button, typically displayed prominently on your phone interface during an active call, allows you to immediately redirect the caller without having to answer first.
Once you press decline, Nextiva’s system automatically routes the call to your voicemail, guaranteeing the caller can leave a message while you maintain control over your availability.
This call management feature is part of VoIP’s advanced functionality that helps small businesses efficiently handle incoming communications without disrupting workflow.
Locate Decline Button
The decline button serves as your primary tool for routing incoming calls directly to voicemail on Nextiva’s platform.
You’ll find this crucial feature prominently displayed on your phone interface during incoming calls, typically appearing as a red button or “Decline” option alongside the green “Accept” button. Your decline settings become part of your thorough call management strategy, giving you control over when and how you receive communications.
On desktop applications, the decline button appears in the incoming call notification window. Mobile users will see it on their call screen interface.
Some devices display it as a downward-facing phone icon, while others use text labels. Understanding your specific device’s layout guarantees you’re prepared when calls arrive.
This simple yet powerful tool puts you in charge of your communication flow, making voicemail routing effortless. If you experience issues with the decline button not responding properly, restart your VoIP software or check your device connections to resolve any audio or interface problems.
Automatic Voicemail Routing
Pressing the decline button immediately sends incoming calls straight to your voicemail system, creating a seamless automatic routing process that eliminates missed call anxiety.
This feature empowers you to maintain control over your communication flow while guaranteeing every caller receives proper attention through your voicemail greeting.
Call screening becomes effortless when you’re part of the Nextiva community, allowing you to prioritize urgent matters without appearing unprofessional.
You’ll discover that strategic use of the decline button actually demonstrates excellent voicemail etiquette, showing respect for both your time and your caller’s needs.
The automatic routing happens instantly, giving callers immediate access to leave detailed messages.
You’re joining thousands of professionals who’ve mastered this crucial skill, transforming potentially disruptive interruptions into organized, manageable communications that you can address when it’s most convenient for your schedule.
Advanced VoIP systems enhance this capability with sophisticated call routing features that can customize how calls are handled based on your specific business requirements.
Configuring Call Forwarding Rules for Automatic Voicemail Routing
You can automate your voicemail routing by setting up call forwarding rules that direct incoming calls to voicemail based on specific conditions you define.
These forwarding conditions might include time of day, caller ID, your availability status, or whether you’re already on another call.
When you establish multiple forwarding rules, you’ll need to manage their priorities carefully to guarantee the most important conditions take precedence over others.
Similar to other VoIP systems, Nextiva’s call forwarding functionality transforms voice signals into digital packets for efficient routing and enhanced communication flexibility.
Setting Forwarding Conditions
While basic call forwarding sends all incoming calls to a designated number, configuring specific forwarding conditions gives you granular control over when calls automatically route to voicemail.
You’ll find this particularly useful when you want to maintain professional accessibility while protecting your personal time.
Setting up these conditions allows you to create rules based on:
- Time-based parameters – Route calls to voicemail during specific hours, weekends, or holidays
- Caller identification – Direct unknown numbers to voicemail while allowing important contacts through
- Simultaneous ring settings – Control how long phones ring before forwarding to voicemail
Through Nextiva’s dashboard, you can customize voicemail greetings for different scenarios and enable call screening features.
These settings guarantee you’re connected with the right people at the right times, giving you the flexibility to manage communications effectively.
This level of call control helps small businesses optimize their communication workflows while maintaining the professional accessibility needed to compete effectively in today’s market.
Managing Rule Priorities
When multiple call forwarding rules operate simultaneously, establishing clear priorities prevents conflicts and guarantees your calls reach their intended destinations.
You’ll want to organize your rules logically, with the most important conditions taking precedence over general catch-all settings.
Access your Nextiva dashboard’s call forwarding section to arrange rule customization effectively. Drag and drop rules into your preferred order, placing time-sensitive conditions like business hours at the top. Emergency contacts should receive higher priority than standard voicemail routing.
Your priority settings determine which rule activates when multiple conditions match simultaneously. For instance, if you’ve configured both “after hours” and “busy signal” forwarding, the higher-ranked rule executes first.
Test your configuration regularly to verify calls flow effortlessly to voicemail when you’re unavailable, creating a seamless experience for your callers. Implementing backup options ensures uninterrupted communication even when your primary call routing encounters technical issues.
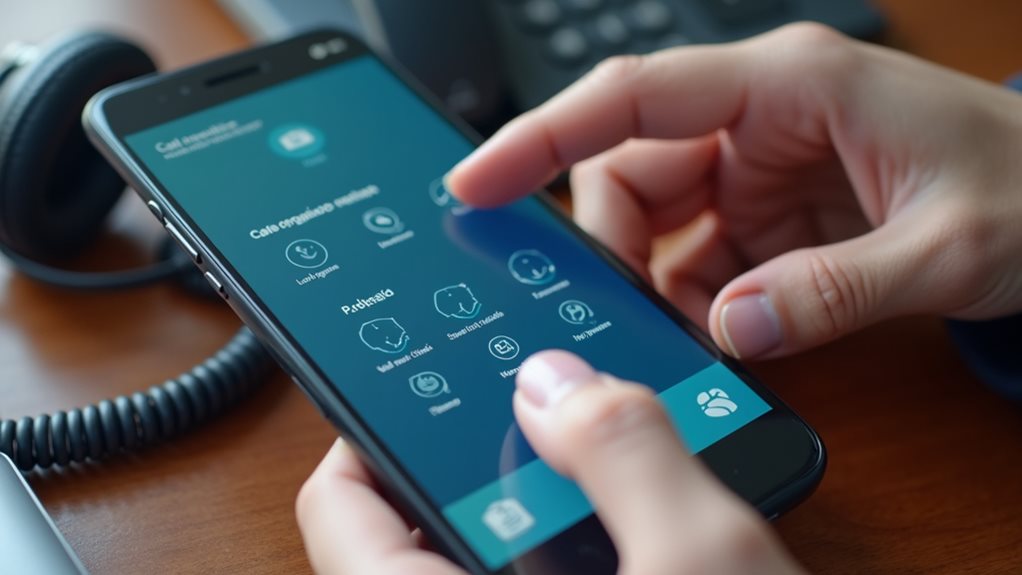
Managing Incoming Calls Through the Nextiva Desktop App
Managing incoming calls effectively becomes markedly easier with the Nextiva desktop application, which offers extensive control over your communication workflow.
You’ll find yourself part of a community that values seamless call management through intuitive features.
The desktop app transforms how you handle call notifications, giving you immediate visibility into who’s calling and why.
You can implement sophisticated call screening processes that filter contacts based on your preferences, guaranteeing you’re only interrupted when necessary.
Key features that improve your call management include:
- Real-time caller identification with detailed contact information
- Customizable notification settings for different contact groups
- One-click voicemail redirection without answering the call
You’re empowered to make split-second decisions about incoming calls, maintaining your productivity while staying connected to your professional network through streamlined communication tools.
These call routing capabilities are part of Nextiva’s comprehensive feature set, which also includes advanced reporting tools and voice analytics to help optimize your business communications.
Sending Calls to Voicemail Using the Nextiva Mobile App
Although the desktop app provides excellent call management capabilities, the Nextiva mobile app delivers equally powerful voicemail redirection features that keep you in control wherever you go.
When you’re part of the Nextiva community, you’ll appreciate how seamlessly these mobile app features integrate into your daily workflow.
To send calls directly to voicemail through your mobile device, simply tap the decline button when an incoming call appears. The caller will immediately connect to your personalized voicemail greeting. You’ll receive instant voicemail notifications, guaranteeing you never miss important messages from clients or colleagues.
The mobile interface mirrors the desktop experience, maintaining consistency across all your devices.
This unified approach means you’re always connected to your professional network, regardless of location.
Utilizing Presence Status to Control Call Handling
Since presence status acts as your digital communication gatekeeper, you’ll find it’s one of the most strategic tools for managing incoming calls without manually declining each one. These presence indicators communicate your availability to colleagues and clients, automatically directing calls based on your selected status.
Presence status serves as your strategic digital gatekeeper, automatically managing incoming calls based on your availability without manual intervention.
Your presence status transforms call management into a seamless experience by offering these key advantages:
- Do Not Disturb – Sends all calls directly to voicemail while you’re in meetings or focused work sessions.
- Away – Automatically routes calls to voicemail when you’re temporarily unavailable.
- Busy – Signals you’re occupied and diverts incoming calls accordingly.
You’re fundamentally creating boundaries that protect your time while guaranteeing callers receive appropriate responses. This proactive approach eliminates the need to constantly monitor and manually reject calls throughout your workday.
These presence indicators work alongside call routing features to ensure calls reach the right destination promptly, maintaining professional communication standards even when you’re unavailable.
Setting Up Custom Business Hours for After-Hours Voicemail

When your business operates within specific hours, establishing custom schedules ensures professional call handling even when you’re unavailable.
You’ll want to configure your Nextiva system to automatically direct calls to voicemail outside these designated times, assuring customers receive consistent service regardless of when they reach out.
Navigate to your admin portal and locate the business hours settings under call routing options.
Define your operational schedule by selecting specific days and time ranges that match your availability. You can create different schedules for weekdays, weekends, and holidays, giving you complete control over when calls receive live answers versus voicemail redirection.
Enable voicemail notifications to stay informed about after-hours messages.
This feature sends alerts to your email or mobile device, keeping you connected to your customers’ needs even when your office is closed.
Nextiva’s auto-attendant feature works seamlessly with your business hours configuration to create a professional greeting system that handles incoming calls appropriately during both business and after-hours periods.
Creating Call Routing Rules Based on Caller ID
While custom business hours handle time-based call routing, caller ID rules let you personalize how specific contacts reach your business based on their phone numbers. This caller id management feature empowers you to create sophisticated call routing strategies that recognize important stakeholders and handle them accordingly.
You can configure these rules to automatically direct calls to voicemail based on the incoming number. For instance, you might want certain contacts to bypass your main queue entirely.
Here’s how caller ID rules improve your communication strategy:
- VIP Treatment: Route high-priority clients directly to specific team members
- Spam Prevention: Send known spam numbers straight to voicemail
- Department Routing: Direct vendor calls to appropriate departments automatically
These personalized routing rules guarantee every caller receives the attention they deserve while maintaining your business’s professional standards and operational efficiency.
Managing Voicemail Settings and Greetings
Once you’ve established your call routing preferences, you’ll want to customize your voicemail experience to match your business’s professional image.
Managing your voicemail settings effectively helps create consistency across your communications while guaranteeing you never miss important client messages.
Start by recording professional voicemail greetings that reflect your brand’s tone and personality. You can create different greetings for various scenarios—standard business hours, after-hours, holidays, or when you’re temporarily unavailable.
Keep your messages concise yet informative, including vital details like your business name and expected callback timeframe.
Configure voicemail notifications to stay connected with your clients. Set up email alerts, text notifications, or both to receive instant updates when new messages arrive.
This guarantees you’re always aware of incoming communications and can respond promptly to maintain strong customer relationships.
Final Thoughts
You’ve now got multiple ways to send calls to voicemail on Nextiva, from quick declines to automated routing rules. Whether you’re using Do Not Disturb mode, configuring business hours, or managing calls through the desktop app, you can control when and how callers reach you. Test these features to find what works best for your workflow, and don’t forget to customize your voicemail greetings for a professional touch.