
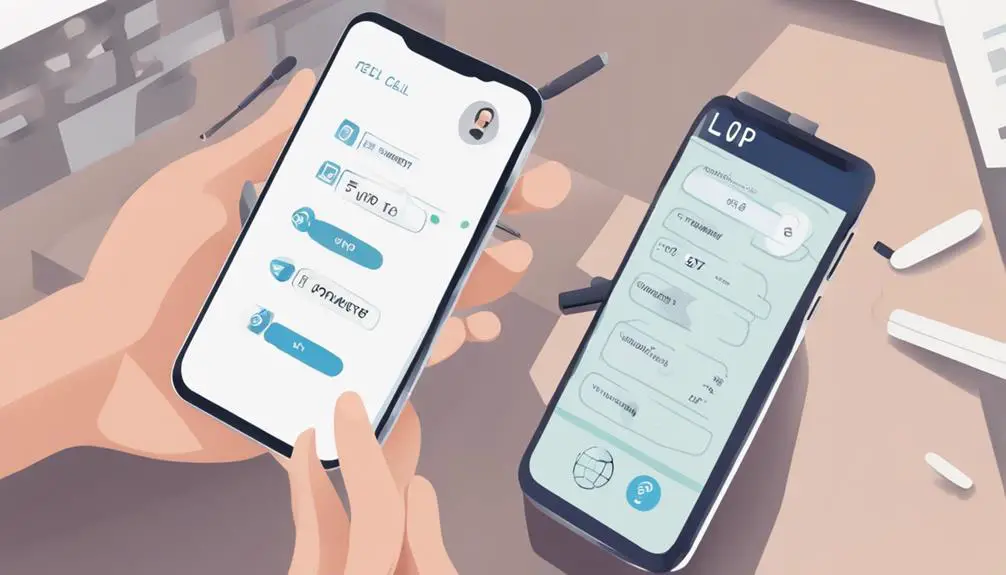
If you've ever wondered how to seamlessly forward your VoIP number to your cell phone, the process involves a series of straightforward steps that can enhance your communication experience.
By following the 10 steps outlined, you can ensure that calls reach you wherever you are, eliminating the risk of missing important conversations.
Each step plays a crucial role in customizing your call forwarding preferences to suit your needs, offering a tailored approach to managing your incoming calls effectively.
Key Takeaways
- Confirm VoIP provider compatibility for call forwarding to cell phones
- Access account settings and enter accurate cell phone number
- Verify call forwarding activation with a test call
- Customize call handling preferences for efficient call routing
Check VoIP Provider Compatibility
To ensure seamless call forwarding from your VoIP number to your cell phone, first confirm that your VoIP provider supports external number redirection. Not all VoIP services offer this feature, so it's crucial to check for compatibility. Verify with your provider if forwarding calls to external numbers, such as cell phones, is supported within their service offerings. Once you have confirmed this capability, you can proceed with setting up call forwarding to your cell phone without any hitches.
Additionally, it's important to inquire about any potential extra charges associated with forwarding calls to your cell phone. Some providers may apply additional fees for this service, so understanding the cost implications upfront can help you make informed decisions. By ensuring that your VoIP provider supports call forwarding to external numbers and clarifying any associated costs, you can streamline the process of redirecting calls to your cell phone effectively.
Access Account Settings
Access your VoIP provider's online portal or app to manage account settings efficiently. Once logged in, navigate to the settings menu to modify call forwarding options for your VoIP phone number. Ensure you have the necessary permissions to make changes. Follow the provider's instructions closely to correctly set up call forwarding. Remember to save and confirm the adjustments made to successfully forward calls from your VoIP number to your cell phone.
| Account Settings | Description | Action Required |
|---|---|---|
| Login Credentials | Enter your details | Provide login info |
| Settings Menu | Access account settings | Navigate to settings |
| Call Forwarding | Locate forwarding options | Find call forwarding |
| Permissions | Check access rights | Ensure proper permissions |
| Save Changes | Confirm adjustments | Save and verify changes |
Locate Call Forwarding Options
If you're looking to manage call forwarding, navigate to the VoIP settings menu and locate the 'Call Forwarding' or 'Forwarding Options' section to direct calls to your desired number. Once you access this section, you'll typically find various options related to call forwarding. Look for the specific setting that allows you to forward calls to a different phone number. This option may be labeled as 'Forward to Phone' or something similar.
When you locate the appropriate forwarding option, select it to begin the process of forwarding your calls to your cell phone. You'll then be prompted to enter the cell phone number where you want your calls to be forwarded. Make sure to input the correct number to ensure that calls are correctly directed to your desired phone. After entering the phone number, save the changes to activate call forwarding to your cell phone. This step ensures that all incoming calls to your VoIP number will now be routed to your cell phone for easy accessibility.
Enter Cell Phone Number
Enter the desired cell phone number to which you want to forward VoIP calls. Make sure to input the number accurately, including the correct format for seamless call forwarding. It's essential to include the area code and country code if needed to ensure the calls are routed correctly.
After entering the cell phone number, remember to save the changes to activate the call forwarding feature. Double-check the entered cell phone number to prevent any misrouted calls. Verifying the accuracy of the number will help guarantee that your VoIP calls are forwarded to the intended destination without any issues.
Taking the time to input the correct cell phone number is crucial for the successful implementation of call forwarding from your VoIP number to your cell phone.
Verify Forwarding Activation
To ensure your call forwarding is activated correctly, you need to follow these steps:
- Confirm the forwarding settings.
- Initiate a test call forwarding process.
- Check for incoming calls on your cell phone.
Verifying the activation allows you to guarantee that calls are seamlessly redirected from your VoIP number to your cell phone, ensuring you stay connected and don't miss any important communications. By following these steps, you can maintain uninterrupted accessibility to calls and enhance your overall communication experience.
Confirm Forwarding Settings
Checking the call forwarding activation status is essential to ensure your calls are being directed correctly to the intended number. To confirm forwarding settings effectively, follow these steps:
- Double-Check Configuration: Review the forwarding setup to prevent any call redirection issues.
- Verify Destination: Ensure that calls are reaching the designated cell phone without any disruptions.
- Test Functionality: Place a test call to guarantee the call forwarding feature is active and operating as anticipated.
Test Call Forwarding
When testing call forwarding, ensure to make a test call to the VoIP number to confirm proper activation and redirection to the designated cell phone number. This step is crucial in verifying that call forwarding works as intended.
By placing a test call, you can ensure that the incoming calls are seamlessly transferred to your cell phone without any interruptions. Test the call forwarding feature multiple times to guarantee consistent functionality.
It's essential to verify that the forwarded calls reach the cell phone promptly and without any delays or issues. By conducting these test calls, you can be confident that your call forwarding settings are correctly configured and operational.
Check Incoming Calls
Before proceeding with verifying the activation of call forwarding, it's essential to ensure that the test calls have been successfully directed to your designated cell phone number. To check incoming calls and verify call forwarding, follow these steps:
- Monitor Call Logs: Regularly review your call history or logs to confirm that incoming calls are being forwarded to your cell phone.
- Place Test Calls: Test the call forwarding functionality by making calls from various numbers to ensure they're correctly forwarded.
- Review Settings: Troubleshoot any issues by checking and adjusting the call forwarding settings and configurations on your VoIP service.
Test Call Forwarding
To ensure the VoIP number is correctly forwarded to your cell phone, conduct a test call to verify the redirection to the designated number.
Check the call quality and connection for seamless forwarding.
Confirm that all settings are adjusted correctly for efficient call forwarding.
Call Quality Check
Conduct a comprehensive test call forwarding to meticulously assess the call quality and connection efficiency.
Call Quality Check:
- Verify that the forwarded calls reach your designated cell phone promptly, ensuring efficient call routing.
- Check for any delays, echo, or distortion during the call forwarding process to maintain clear communication.
- Listen attentively for any dropped calls or interruptions while forwarding to the cell phone, ensuring seamless connectivity.
Troubleshooting Call Forwarding
When troubleshooting call forwarding, ensure the VoIP system's call forwarding settings are correctly configured to redirect calls to your cell phone. To test call forwarding, make a call to the VoIP number and verify it redirects to your cell phone. Confirm that the cell phone receiving the forwarded call has proper network coverage. Check for any call forwarding restrictions or limitations set on the VoIP system that may be affecting the forwarding process. If the call forwarding feature is not working as expected, contact support for further assistance.
| Troubleshooting Steps | Description |
|---|---|
| Test Call Forwarding | Make a call to VoIP number to check redirection. |
| Verify Network Coverage | Ensure cell phone has proper network connectivity. |
| Check System Settings | Confirm call forwarding settings in VoIP system. |
| Contact Support | Reach out for assistance if issues persist. |
Adjust Forwarding Settings
For adjusting call forwarding settings, navigate to the VoIP system's configuration menu to modify the redirection preferences.
Steps to Test Call Forwarding:
- Initiate a test call to ensure the setup is correct.
- Forward calls from the VoIP number to your cell phone as a test.
- Confirm that calls are redirected to the designated cell phone number.
Ensure the forwarding number is correctly set up and that the call forwarding process is working as intended. By testing the setup, you can verify that calls are being properly forwarded to your cell phone. This step is crucial to ensure that the forwarding functionality works seamlessly before relying on it for regular use.
Set Call Handling Preferences
To tailor the handling of your calls effectively, ensure that your call forwarding preferences are set up to seamlessly redirect VoIP numbers to your designated cell phone. By customizing your call forwarding settings, you can guarantee that important calls always reach your mobile device, providing you with on-the-go accessibility. Optimize your call handling by forwarding all VoIP numbers to your preferred mobile number, ensuring you never miss a crucial call again.
| Call Handling Preferences | |
|---|---|
| Setting | Description |
| Forward All Calls | Redirect all calls to your cell phone for immediate response. |
| Specific Caller ID | Set preferences to forward calls from specific numbers. |
| Voicemail Options | Choose whether to redirect calls to voicemail if unreachable. |
| Time-Based Forwarding | Schedule call forwarding based on specific time frames. |
Customize Caller ID Settings
Customize your caller ID settings by choosing to display either your business name or number. This customization helps establish a professional image for your business and enhances customer trust.
Caller ID Name
When setting up your VoIP number to forward calls to your cell phone, ensuring that your Caller ID name is customized can significantly impact how recipients perceive your calls. Customizing your Caller ID name is crucial for establishing credibility and professionalism in business communications.
Here are three key reasons why customizing your Caller ID name is essential:
- Brand Recognition: Personalizing your Caller ID name with your business name helps your brand stand out and appear more professional.
- Customer Trust: Accurate Caller ID information enhances customer trust, leading to improved relationships and brand loyalty.
- Call Answering Rates: Customized Caller ID settings can positively influence call answering rates, ensuring better communication with clients and prospects.
Caller ID Number
Enhance the professionalism of your call forwarding process by customizing your caller ID number to display a specific contact when diverting VoIP calls to your cell phone.
Customizing your caller ID number allows you to personalize the information displayed when making outgoing calls. By setting up a custom caller ID number, you can ensure that the recipient recognizes your identity or business, increasing the likelihood of them answering the call.
Consistency in displaying a familiar number fosters trust and recognition. Take advantage of this feature to add a professional touch to your call forwarding activities and maintain a cohesive communication strategy.
Ensure that your customized caller ID number accurately reflects your desired contact information for a seamless transition between VoIP and cell phone calls.
Explore Additional Features
Discover the array of additional features available for enhancing your VoIP number forwarding experience. When exploring these features, consider the following:
- Call Recording: Opt for services that offer call recording capabilities to ensure quality assurance and compliance with regulations. This feature enables you to review conversations for training purposes or dispute resolution.
- Voicemail Transcription: Simplify message retrieval with voicemail transcription services. Convert voicemails into text format for quick reading and reference, enhancing your overall communication efficiency.
- Advanced Call Analytics: Gain valuable insights into call patterns and performance metrics with advanced call analytics tools. Understand how your VoIP call forwarding system is being utilized, identify trends, and make informed decisions to optimize your communication strategy.
Troubleshoot & Fine-Tune Configuration
To troubleshoot and fine-tune your VoIP number forwarding configuration effectively, ensure the destination number format is accurately set for seamless call forwarding. Double-check that the phone numbers are entered correctly, including the country code and area code if applicable, to avoid any routing errors. Additionally, verify that you have a stable VPN connection or are on campus to access VoIP settings without any connectivity issues.
After confirming the number format, test the call forwarding configuration by placing test calls to ensure that calls are being correctly directed to your cell phone. Make sure to select the appropriate forwarding option, whether it's forwarding to voicemail or adding a new number for direct forwarding. Once you have fine-tuned the settings, save the changes to activate the updated configuration promptly.
Is the Process of Forwarding VoIP Calls to a Cell Phone the Same for All Providers?
The process to forward VoIP calls to a cell phone may vary between providers. Some may require setting up call forwarding in the account settings, while others may use specific codes or apps. It’s important to check with your VoIP service provider for the correct steps.
Frequently Asked Questions
Can You Forward a Voip Number to a Cell Phone?
Yes, you can easily forward a VoIP number to a cell phone. VoIP number compatibility with cell phone call routing ensures seamless connectivity. Stay connected on the go by routing calls from your VoIP number to your cell phone.
Is There a Way to Forward Calls From a Landline to a Cell Phone?
For converting a landline to mobile compatibility, call forwarding is key. Ensure calls reach you by setting up this feature efficiently. Simplify accessibility and customer service by redirecting calls from a landline to a cell phone.
How Do I Redirect Calls to My Mobile?
To redirect calls to your mobile, utilize VoIP technology for seamless mobile integration. Access call forwarding options in VoIP settings. Ensure cell phone connectivity for uninterrupted communication. Stay reachable on the go.
How Do I Forward My ATT Voip Phone?
To set up call forwarding on your AT&T VoIP phone, access your account, navigate to Settings, select Call Handling & Forwarding, choose the phone number, enter the forwarding number, and save changes. Troubleshoot to ensure seamless redirection.
Conclusion
Now that you've completed the 10 steps to forward your VoIP number to your cell phone, you're almost ready to enjoy seamless connectivity wherever you go.
But wait, there's one crucial detail you may have overlooked that could make a big difference in your call forwarding experience.
Stay tuned for the final piece of the puzzle that will ensure your calls are forwarded smoothly and efficiently.
Keep an eye out for the next step coming soon.